Showing posts with label cooking. Show all posts

Monday, January 18, 2016

My First Video Podcast!

I have put off the idea of creating a video podcast because I truly felt no one would want to sit and watch me talk. However, I have had several requests recently to get out there and post one. The holidays were just too busy to think seriously about what I was going to talk about. With the start of the new year, I decided I would try this new approach to blogging. I have been working on organizing and setting up a space in my creative room to film my podcast. I finally got it together and jumped in. I welcome you to my newest form of blogging: video podcasting.

Welcome to my new podcast - Everything Jenni.


I mention in the podcast that I would provide show notes in my blog. So here there are.

Ravelry: Everything Jenni group
Instagram: jenniburgan
Etsy Shop: Everything Jenni

Works In Progress (WIPs)

Christmas Eve Socks (Little Bobbins Knits)
  • Yarn: Madelinetosh Sock
  • Colorway: Clematis
  • Needles: Karbonz Circular – Size 1
  • Pattern: Vanilla Latte Socks by Virginia Rose-Jeanes
  • Notes: I used the “eye of partridge” heel flap and the rounded wedge toe.

Coziest Memories Blanket (Junkyarn)
  • Yarn: various fingering weight/sock weight
  • Colorway: various
  • Needles: Hiya Hiya Sharps 16” Circular – Size 2
  • Pattern: Junkyarn

Hiker Socks
  • Yarn: Neighborhood Fiber Company
  • Colorway: Druid Hill
  • Needles: Karbonz Circular – Size 3
  • Pattern: Ragg Hiker (Two At-A-Time Socks Book)
  • Notes: I’m making the men’s size medium, so I cast on 60 stitches.


Sewing Projects
  • Medium size project bags will be available in my Etsy Shop soon


Finished Objects (FOs)

Shawl
  • Yarn: Madelinetosh Chunky
  • Colorway: Tart
  • Needles: Knit Picks Harmony Interchangeable Circulars – Size 10
  • Pattern: Boneyard Shawl by Stephen West
  • Notes: I changed yarn and needles to larger sizing. The Elizabeth Zimmerman sewn bind-off is fabulous, but requires a lengthy tail to sew. It can be time consuming.

Slippers
  • Yarn: Malabrigo Rios
  • Colorway: Arco Iris
  • Needles: Knitter’s Pride – Size 4.0 mm DPNs (pattern calls for 4.5 mm)
  • Pattern: South Marysburgh Slippers
  • Notes: I changed my cuff to be a K1, P1 rib stitch for four rounds instead of the seed stitch cuff. I am also adding the Fiber Trends Suede 2-Piece Slipper Bottoms in size medium and charcoal coloring. I had enough yarn to make two pair, but on my second pair I am using a different colourway to add a much taller cuff for a winter slipper.


Recipe
  • Slow Cooker Loaded Potato Soup from Tasty on Facebook
  • Notes: Make sure that your stovetop portion of the recipe is thickened before adding to your slow cooker to cook for an additional 30 minutes. If it is not thickening add a little more flour.


Thank you for stopping by. I hope you join me for my next podcast.

Hugs,

Jenni

Sunday, July 26, 2015

July - A Tough But Productive Month

Every July begins with my memories of my daddy going into the hospital due to a stroke. That is followed by the date of his birth/death. (He died on his birthday.) Just as I am recovering mentally and emotionally from this, my grandmother's birthday comes along. I often reflect on how I wish I had spent more time with her doing things that I loved. She was a whiz at anything she tried. Whether she was cooking, sewing, or crocheting, grandma was all in. Everything had to be perfect. As this very emotional month winds down, I decided to share with you a few of the activities that I conquered in honor of my grandma. I began the month making my delicious butter. I finished a granny square blanket.
It truly is relaxing to feel the yarn run through my fingers. Then I jumped into canning a strawberry jam.
Although I don't think it is beautiful in presentation, it certainly is mouthwatering. That was followed by a batch of scrumptious cheese.
It is so incredible that it is hard to keep stocked. After all of this yummy goodness, I decided to use up my material supply in the craft room. I have begun working on a English Paper Piecing quilt.
It is the perfect on the go sewing project. I can take a small sewing kit, and work while we travel. Everything is done by hand to piece the quilt top together. It will take awhile, but it is definitely worth the time. Next I began making my mama's divine apple sauce.
Again, this is another treat that is hard to keep stocked. We have a couple of spoonfuls with every dinner. My most recent endeavor was my version of my daddy's salsa.
However, this time I made it mild so that I could share with others. This is my all-time favorite condiment. I literally put it on everything. This week I will be tackling a blueberry jam or a blueberry butter. I haven't quite decided yet. They are both delicious, but I'm not sure which one I want just yet. The ingredients have been purchased, but I haven't made up my mind. I'm thinking about making a video on how to make the blueberry dish. You will have to tune in next time to find out what I do. Until then, I sending out happy thoughts for you.

Hugs,
Jenni

Tuesday, June 30, 2015

Oh so pretty dutch oven!

As many of you know, I have been looking for a delicious, no fuss, bread recipe. After trial and error, I discovered that I was running low on patience. Every recipe I tried was too dense. I even gave it multiple attempts with slight variations, but I was not satisfied.

One of the owners of the Village Kitchen Shoppe in my quaint downtown recommended the Sullivan Street No Knead Bread recipe. I was so excited to go home and try it. Based on her description, I had all of the ingredients and I was ready to go. However, when I looked up the recipe online I discovered that I needed a 6-7 quart dutch oven. Darn it! Of course that is the one thing I did not have. I began the search for a dutch oven. After countless hours and numerous websites, I found one to order with free shipping. It was even cheaper than going down to the store to get it. The downside to this is that I had to wait a week for it to arrive. Dang, that patience thing was really becoming a bother.

A week passed and the plain brown box arrived on my doorstep. I quickly rushed in and tore it open. I washed it, and then I pulled out the recipe. As I read the recipe over, I discovered that you had to prepare the dough and let it sit for about 12 hours. Okay, more patience. At this point, I mix up my ingredients and then the waiting begins again. After my 12 hours had passed, I went back to reviewing the recipe. A few more steps and then I had to wait again for 1-2 hours for the dough to double in size.

But wait! It says that you are supposed to heat the empty dutch oven for 30 minutes at 450 to 500 degrees prior to adding the dough for baking. However, my instruction booklet for my dutch oven says to "never" heat it empty. What to do! While my dough was rising I began the search for more information on the Internet. I found a few recipes for no knead bread that used a cold dutch oven and a cold oven. Unfortunately, these were recipes with a more dense look to them. Well shoot! I decided to wing it. I did not preheat my oven or my dutch oven. I let my dough finish rising and then I added it to my dutch oven. I turned the heat to 450 degrees and placed it inside with the lid on. I baked it for about 40 minutes, and then I removed the lid and baked it for about 10-15 minutes longer. When I took it out, it looked great and smelled even better. Alas, I was unsure how it would feel and taste.

I waited again for it to cool. This is the proper method. Ugh! Awhile later I decided to dive in. I cut myself a slice and found it to be light and airy with a slightly harder crust. It reminded me of sourdough. I grabbed some of my homemade butter and slathered it on. Oh my goodness! It was delicious. I was so proud that I devoured another slice. When Christopher came home, he smelled the bread and had to taste it. Luckily, he was in full agreement with me. It was the best yet. I will be repeating this recipe every week. It was great alone, as a sandwich bread, and especially, as French toast. I hope you will give bread making a try and let me know how you do.

Hugs,
Jenni

Friday, August 15, 2014

Blueberry Butter, Delicious!

With the end of summer approaching, I thought it would be nice to have some jam around through the winter. Of course I wanted to make it myself, so I just started canning this past week. I began with a strawberry jam, but I wasn't completely satisfied with the results. It turned out a little too syrup-like for me. The taste is wonderful, but I'm not sold on the texture. This week blueberries were on sale at the market. I searched for a recipe to try and found one for "blueberry butter." The best part is that it is made in the slow cooker. It took all day yesterday to cook, but by the time I went to bed I had a delicious looking blueberry butter. This morning I decided to try it on my English Muffin. Wow! I was ecstatic that this turned out and was absolutely delicious!
Have you canned your own jams, jellies, butters, or other special foods? I'd love to hear about what you have done and how it works for you. Please share any special recipes you find you could not live without.

Hugs,
Jenni

Tuesday, August 12, 2014

Butter Making With Jenni

Last week I discussed the different tools I have used to make butter. This week I thought I would share my process with you. The following video takes you through my steps of making butter. It is incredibly simple and does not take much time. I hope you will give it a try. See how simple it is by clicking on the video below.


I'd love to hear if you give it a try. If you have any questions about the process, just leave me a comment and I will get back to you.

Hugs,
Jenni

Tuesday, August 5, 2014

Butter... Different Tools and Methods

I have been making my own butter for years. I recently purchased yet another gadget for my kitchen, a "buttercup." This new gadget promised to make the small batch butter making process even easier. I decided to do a side by side comparison using this tool and following its method and comparing it to my tools and method.

Buttercup:
Tools: "buttercup butter maker," heaving whipping cream, salt
Notes About Method: The heavy whipping cream had to be stored at room temp for 6-8 hours. Shaking process takes 2-3 minutes. The buttermilk was to be strained through the top of the container. Butter was supposed to be collected in the ramekin portion of the gadget and salted to taste.
Result: creamy white coloring with medium flavor

My Tools:
Tools: mason jar, bowl, spoon, heavy whipping cream, salt
Notes About Method: The heavy whipping cream was to be left on counter for 30 minutes to 1 hour. Shaking process takes 3-5 minutes. The excess buttermilk and water is strained out of the butter by using the back of a spoon to squeeze it out. Butter is placed in a bowl to add salt and then into a container for storing.
Result: vibrant yellow coloring with full flavor

This comparison shows me that I don't need a new gadget for something I've been doing for years. My tools and method proved to be just as effective, if not better, than the new one. I'm sure by tweaking the method of this new gadget I will find a way to make it work for me.

Have you made your own butter? What tools and method do you use?

Hugs,
Jenni

Saturday, December 10, 2011

Saturday Morning

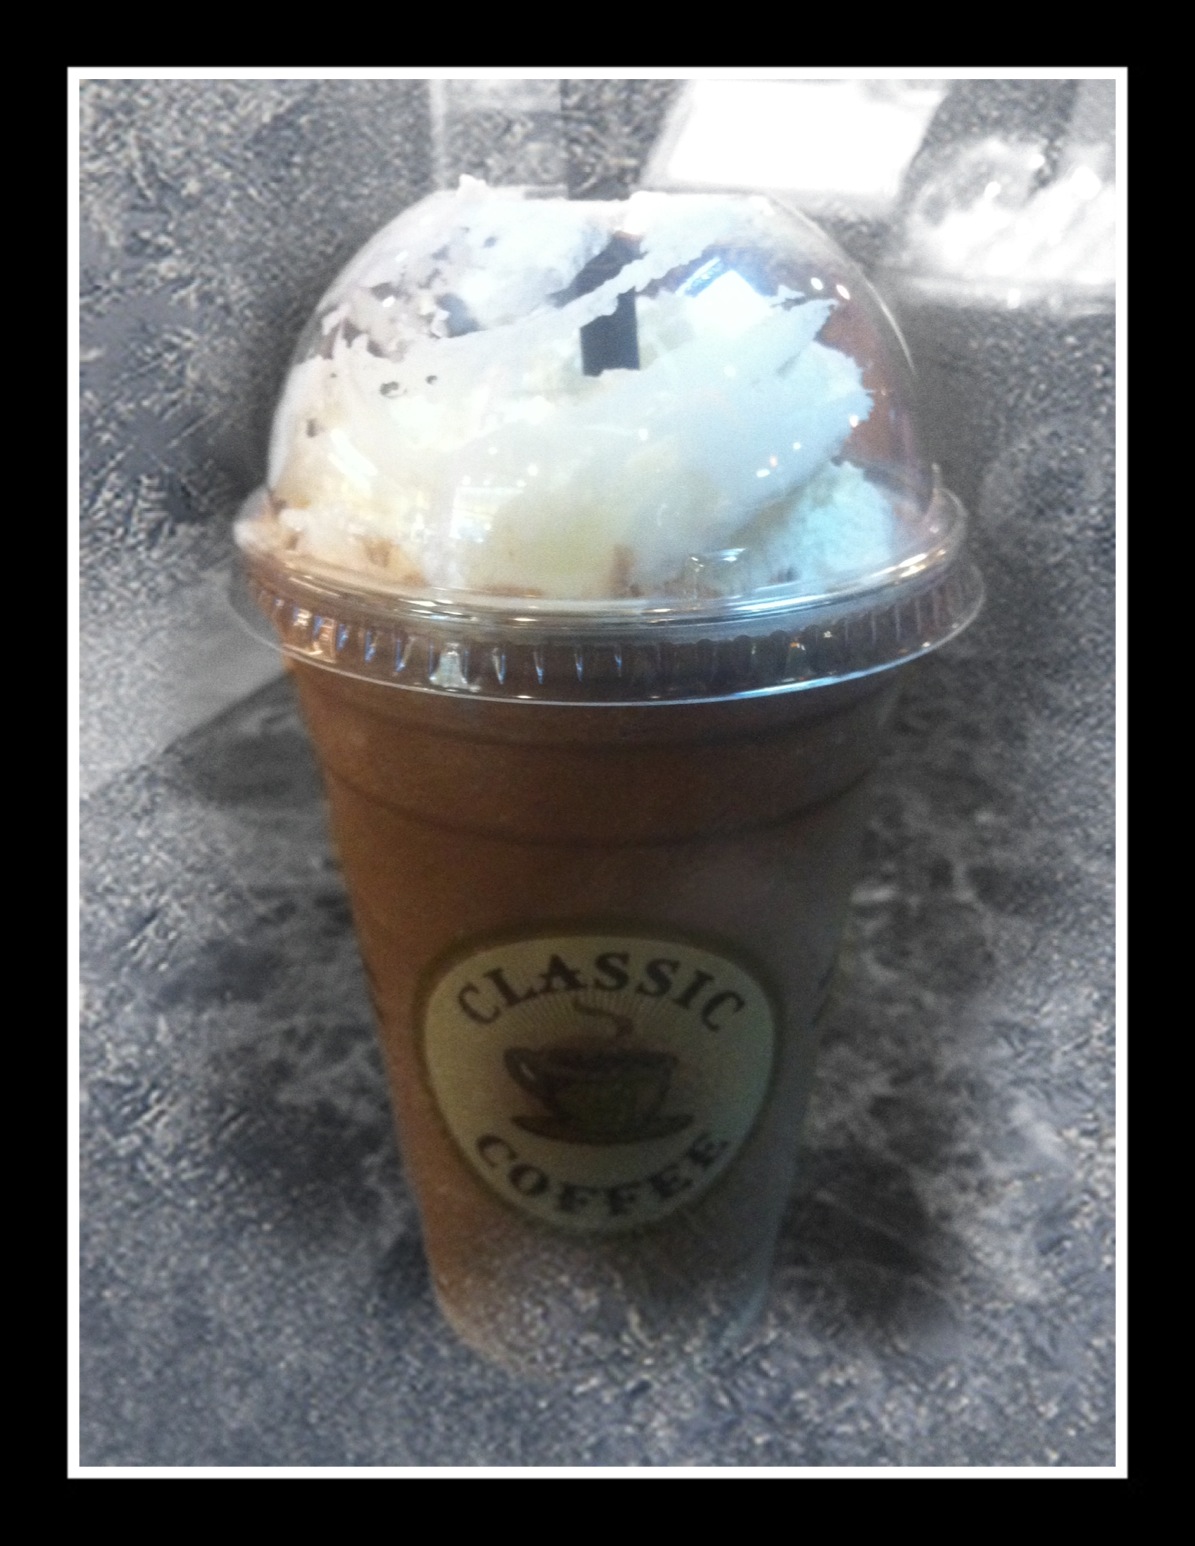
My Saturday morning today consisted of getting up and walking downtown to the Glendora Annual Christmas Parade, brunch at Brackett Field (small local airport), and back to downtown Glendora for a frosty beverage. I know it is the season that we should be cold and drinking hot beverages, but let's be real, I live in Southern California. It's shorts and t-shirt weather during the day and sweater weather at night. So if you get the chance, try the Peanut Butter Frozen Hot Chocolate from Classic Coffee. It's delicious!

Monday, August 22, 2011

Back to School Shake

Christopher started back to school today and I wanted to give him a nice afternoon treat when he got home. Since school now starts in August we are always experiencing extreme heat. What better way to cool off than with a refreshing shake! This Peanut Butter and Jelly Milk Shake hits the spot. Give it a try and let me know what you think.

Peanut Butter and Jelly Milk Shake
Makes 1 Serving

3 scoops vanilla ice cream
2 tablespoons creamy peanut butter
2 tablespoons strawberry preserves
1/2 cup whole milk
1 tablespoon vanilla syrup

Put the ice cream in the blender and add peanut butter and preserves. Add milk. Finally add vanilla syrup. Blend on low speed until ingredients are mixed, then on higher speed until mixture becomes smooth and thick. Pour into your favorite shake glass and enjoy!

Hugs,
Jenni